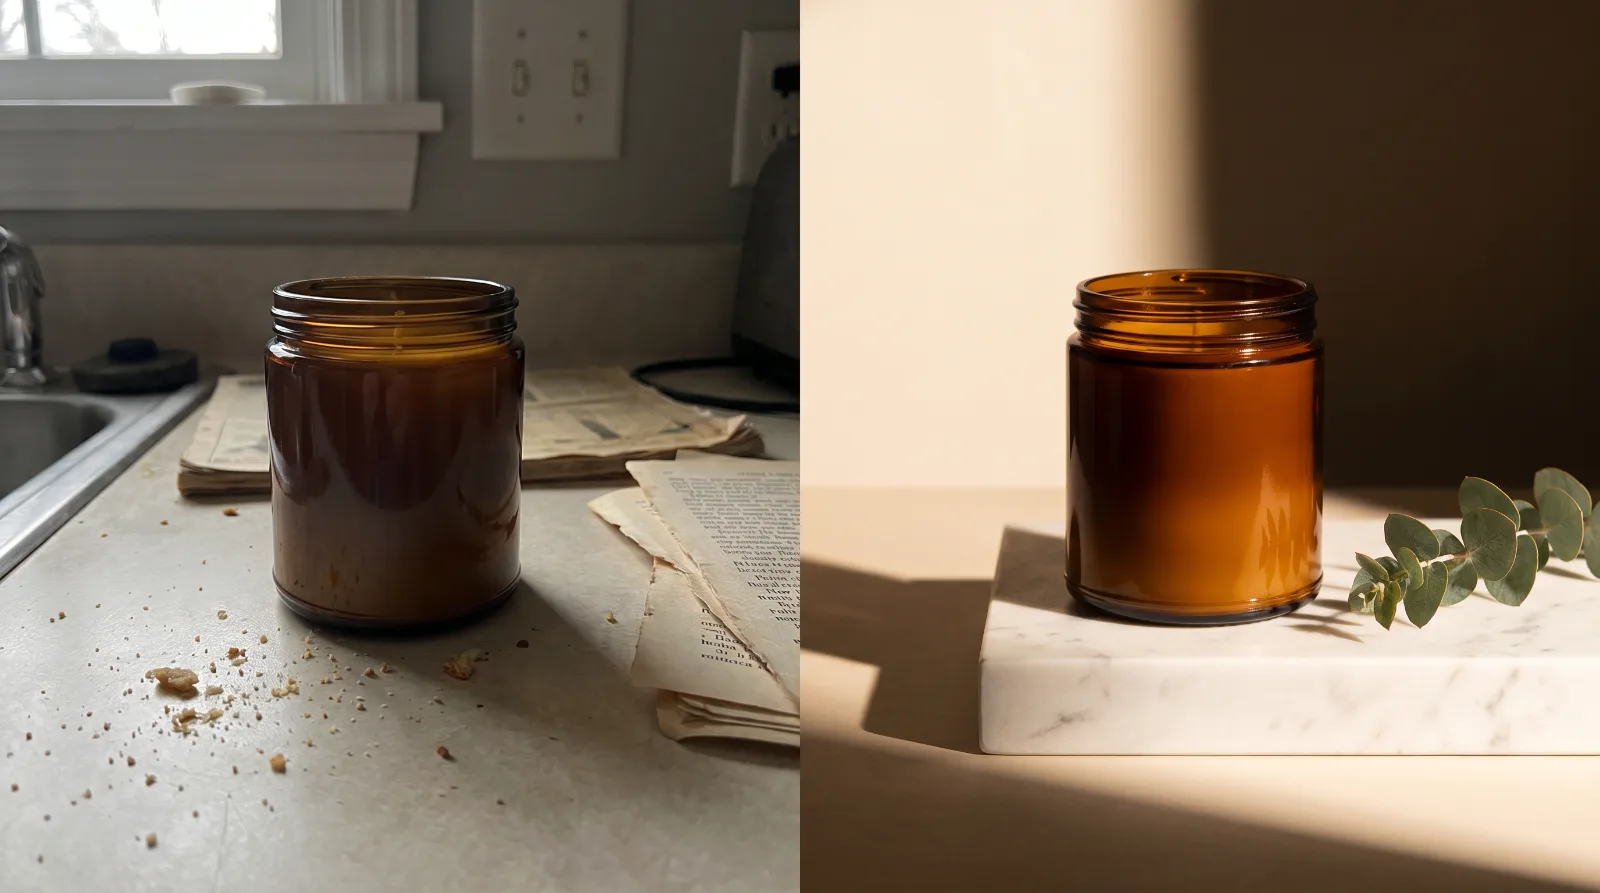
Two People Get the Same Brief
An amateur receives a client request and immediately opens the AI tool. Types something vague. Generates fifty images. Gets nothing usable. Tries random variations for three hours and delivers mediocre work. A professional receives the same request and doesn't open the tool. Not yet. They spend that time on something else entirely: R&D. Then they generate a focused set of images and get strong results.
This is what separates $10/image work from $100/image work, and it isn't better AI tools. It's research that builds a real brand world before a single image exists. The process below is the exact one we run at our own agency for every client campaign.
Step 1: Deconstruct the Brief
'12 images' means nothing until it's categorized. For one Parisian eyewear client, 12 images meant: 4 model shots (2 paparazzi-style, 2 fashion editorial), 4 product shots, 2 detail close-ups, 2 brand shots. For a Japanese titanium eyewear brand, the same count broke down completely differently: 6 ultra-close product shots, a few model shots, and atmosphere shots. Same number, different campaign. The categories map directly to creation workflows, so until the brief is scoped in writing (image counts by type, products with URLs and specs, where the images will run, references the client loves and hates), you don't actually know what you're making.
Get this right and the rest of the process flows. Get it wrong and you'll spend hours generating images nobody asked for. Then do the unglamorous part immediately: collect every product photo, rename files by product and angle, organize by deliverable. It's admin work, and it's the foundation everything builds on.
Step 2: Extract the Brand Identity
Before touching an image, document the brand specifically, not 'they sell candles' but a working identity: audience, archetype, exact colors, and above all visual style. The brand identity isn't a nice-to-have; it's the filter for every creative decision that follows.
Here's why the visual style line matters more than the archetype. A Belgian candle-and-skincare brand and a Japanese titanium eyewear brand can both be 'luxury premium.' But one's visual world is Mediterranean coastal (olive groves, sun-bleached linen, terracotta and sage, golden hour) and the other's is ultra-minimal: clean lines, matte finishes, soft directional light, studio-controlled. Same archetype, opposite images. The visual style is where the real identity lives, and every scene, prop and lighting decision answers to it.
Step 3: The Two-Tier Moodboard
Tier one is what everyone does: collect 3-5 visual references from the brand's existing photography, Pinterest, competitors. Useful, necessary, table stakes. The moodboard isn't just 'find pretty pictures'. At tier two, it's research that builds a brand world.
Tier two is where the leverage lives: competitor deep-dives (how do the category's best brands photograph this material: the angles, the reflections, the surface treatment?), material research (understand titanium, or wax, or leather, at the level of how it takes light), and the part most people never think to do, brand story and geography.
The example we keep coming back to: for the titanium eyewear brand, we traced the likely manufacturing origin to Sabae, Japan, the eyewear capital of the world. Near Sabae we found Ono Castle, 'the castle in the sky,' sitting on a 400-meter summit, a perfect physical metaphor for a brand selling lightweight luxury. The surrounding Fukui region filled out the visual references. None of the final images had to literally show the castle; the research shaped every scene decision, and several research photos were uploaded and transformed directly into brand-universe shots. You're building a story: where does this brand come from? What place in the world does it belong to? The deeper the moodboard, the more specific the final images, and the moodboard itself often becomes source material during creation.
Step 4: Prep the Ingredients
With the world defined, each Visual Syntax ingredient gets prepared deliberately. Style: extract the shared style from your references (genre, mood, quality level, era) into a reusable style fragment. Product: clean inputs make clean outputs, so backgrounds removed, 2K resolution minimum so labels survive, multiple angles, dimensions documented. On real client sessions, product prep is routinely half the session time or more. This isn't overhead; this IS the skill.
Models get the two-stage treatment: a model brief written from the brand identity (the client's actual customer, not 'attractive person'), comp cards to select the face, then clean portraits (white background, neutral clothing, zero accessories) because the comp card is for selection only, never for compositing. The source image wins over the prompt, so the compositing source has to be clean. Think of it like mise en place in cooking: the clean portrait is your prepped, measured, ready-to-use ingredient.
Scenes are generated as standalone assets (empty, no people, no products, 3-4 angles per location with matching light) and named into a library. One-shot is always worth a try when your reference is sharp, but jobs that need control (a consistent model, a composite of several parts) are built from prepared ingredients. By the time generation starts, you're assembling validated parts, not gambling on a miracle frame.
Step 5: The R&D Document
Everything compiles into one creation blueprint: brief summary, brand identity, style fragments, prepped product assets, model direction, scene library, and a deliverable plan mapping each required image to its ingredients. During creation you're executing a plan, not hunting through folders.
And the document evolves. After each successful shot, what worked gets written down as campaign instructions, the exact settings and workflow that produced approved images. Those instructions compound: your first project with a client takes the longest, and every delivery after that gets faster. It's how a campaign goes from taking a full day to taking a few hours. (The full templates, meaning the brief checklist, the extraction prompts and the R&D document structure, are part of our paid system; the process above is the complete shape of it.)
Key Takeaways.
- Pros don't open the tool first. Preparation is what separates $10/image work from $100/image work.
- A brief isn't scoped until image counts are broken down by shot type with products and usage defined.
- Brand archetypes are generic; the visual style line is where real identity lives.
- Tier-two moodboarding (competitors, materials, geography) builds a brand world that becomes source material itself.
- Product prep is half the job: clean, 2K, multi-angle sources. Comp cards select models; clean portraits composite them.
- Document what worked as campaign instructions. It's how a full-day project becomes a few hours.
Ready to Put This Into Practice?
Dezygn gives you the AI creative tools, training, and community to turn these insights into real results for your clients.
Start Free